

The BEST Banana cake with cream cheese frosting
When the kids heard there was going to be a dessert challenge at work to celebrate our 1st year as a team, they were so excited for me. They said I had to make their favorite banana cake with cream cheese frosting so that I could WIN. (I know, so cute!) I honestly didn’t really want to participate but seeing the excitement in their eyes, I felt like I had to role model getting into arena. And not just that, but give it my best shot. I’m not a good baker but I have tried to make this cake many many times (because it’s delicious) and failed many times with multiple failure points. Turns out it’s not so much about the “what”, and way more about the “how”. But this week — everything fell into place. Thank you Erin Duncan for all the text-coaching to get me there! I thought it would be fair to not only share the recipe but also all the lessons learnt along the way. Reference: base recipe inspired by the ones who do it best - Icing on the Cake.
Our family’s favorite cake - Banana cake with cream cheese frosting
Cake Ingredients (9” cake with two layers)
1½ cups ripe bananas (approx 4), super well mashed with no lumps - this is non-negotiable.
2 teaspoons lemon juice
3 cups flour
1½ teaspoons baking soda
¼ teaspoon salt
¾ cup butter, softened - non-negotiable. It takes about an hour to get to room temp. but in a pinch, I swear by this trick!
2 ⅛ cups sugar
3 large eggs
2 teaspoons vanilla
1½ cups buttermilk
Frosting (enough for frosting one two-layer 9” cake)
¾ cup butter, softened - non-negotiable. See note above.
1 (8 ounce) package cream cheese, softened - non-negotiable. See note above.
1 teaspoon vanilla
-~3½ - 4 cups powdered sugar sifted - non-negotiable. I don’t shake to sift, I just use a spoon to press it into the sifter. Much quicker that way!
Equipment
2 x 9” cake rounds, I use springform to reduce risk of cake breaking or you can use pre-cut parchment paper
1 x 9” cake boards
13” Icing spatula and cake rotation turntable - really nice to have
cake lifter - really nice to have when cakes need to be repositioned
I know - it’s starting to feel like a huge investment. Now that I make this cake a few times a year, all the equipment has definitely paid for itself. To save yourself all this trouble, local residents can purchase this cake directly from Icing on the cake.
Day 1 - Bake and freeze the cake
Make sure your butter is softened or start preparing it
Preheat oven to 300F
Grease and flour a 9 x 13 pan or two 9-inch round pans.
Smear butter all over the inside of pan with the butter wrapper. Dump ~2 tbsp of flour in it and shake the pan around to evenly coat the pan. Dump the extra out. Do this over a sink to reduce mess.
OR - buy pre-cut parchment paper and butter the sides only
In a small bowl, mix mashed banana with the (2 tsp) lemon juice; set aside.
In a medium bowl, mix flour (3 C), baking soda (1 ½ tsp) and salt (¼ tsp); set aside.
In a large bowl, cream ¾ Cup butter and 2⅛ Cups sugar until light and fluffy. Beat in 3 eggs, one at a time, then stir in 2 tsp vanilla. Beat in the flour mixture alternately with the buttermilk (1 ½ C). Stir in banana mixture.
Pour batter into prepared pan(s) and bake in preheated oven for about 45 minutes, until toothpick inserted in center comes out clean and cakes are lightly browned. (12-15 mins for cupcakes)
You can do two rounds in one oven but rotate them halfway to ensure even baking. Middle rack is best.
For our small breville oven, it was perfect at 45 mins. For large oven, somehow it took almost an hour!
The batter should only fill up half the pan. If you have extra, save it for muffins later.
Remove from oven and place directly into the freezer for 45 minutes. Yes you heard that right, it goes into the FREEZER. This step should not be skipped and it is the reason why the cake is so moist. It also makes for much easier frosting on day 2.
Cake easily falls apart when getting popped out so let it cool 10-15 mins. Take the time to butter and flour the pan properly or your cake will fall apart. I usually cover the top of the pan with cling wrap before freezing.
IF your cake falls apart, don’t freak out, save the crumbs. You can “glue” it back together with the help of cream cheese frosting on day 2.
Day 2 - Frost the cake
Remove cakes from freezer
Prepare icing: Cream the butter and cream cheese until smooth. Beat in 1 teaspoon vanilla. Add powdered sugar and beat on low speed until combined, then on high speed until frosting is smooth. Set aside.
Slice the rounded tops of the cake off using a bread knife very carefully. You want your cakes to be completely flat for frosting purposes. I usually do 3-4 “shavings” on the top before I get it to be completely flat. Save the crumbs to make banana cake cream cheese balls!
Place one layer on top of the turntable and continuously spread icing on top of the first layer. Ensure that you have a good amount left for the sides and top. Once it’s nice and even, sandwich the icing with the second layer with the more perfect side (least blemished) facing up. It's okay if you have icing oozing out the sides! Now using your spatula and turn table you will try your best to ice the sides and the top uniformly. Because your cake layers are frozen, you shouldn’t have any issues with crumbs getting pulled off into you're frosting.
Once complete, refridgerate.
Day 3 - Decorate the cake (optional)
It is must easier to add details to the cake when the frosting has hardened a bit. It’s easier to work with and you can easily “mend” mistakes because it feels more like play doh.
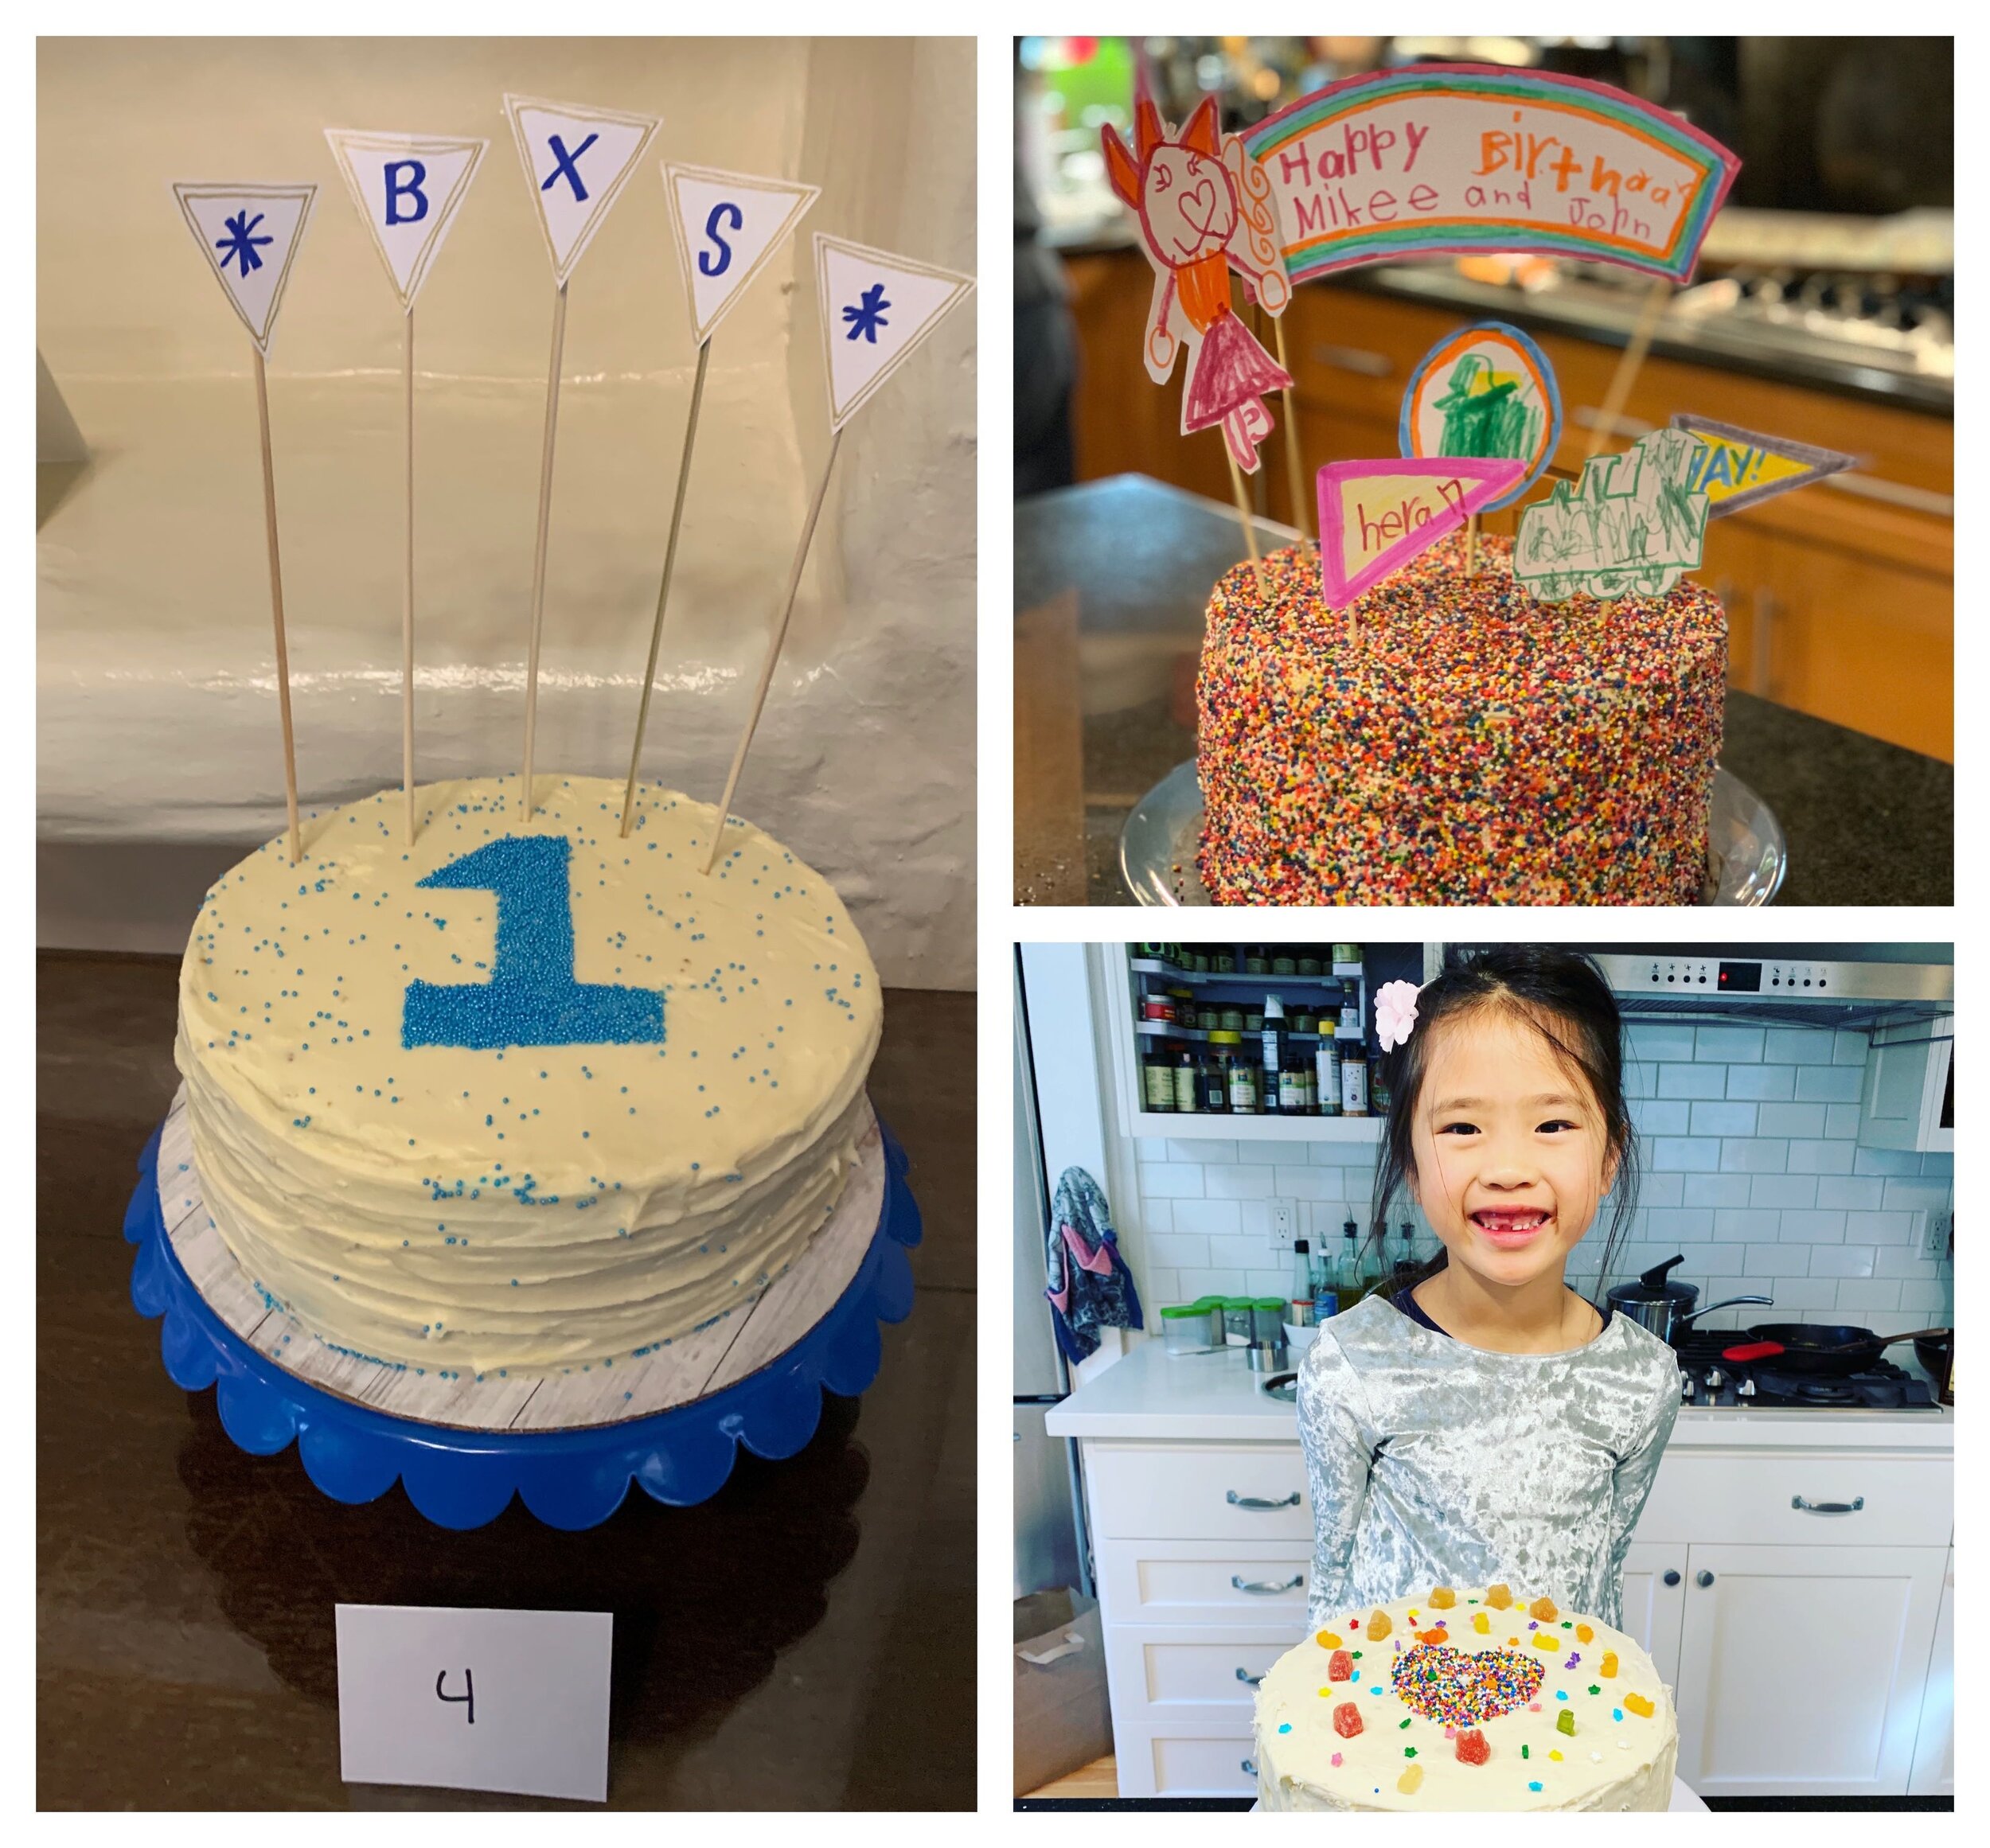
I usually do a cardboard cutout template and cover with sprinkles. Or cover the entire cake in sprinkles! So many ideas you can find on pinterest!
Day 4 - Prep to serve the cake
Make a mental note to remove the cake from the refrigerator at least 1-2 hours before serving so the cream cheese has a chance to soften. One of the worst things I’ve done is serve my cake rock hard!
In a pinch, you can microwave a slice for 10 seconds.
ENJOY!!!

![The ultimate car camping guide - [Guest post!]](https://images.squarespace-cdn.com/content/v1/5bac061d2727be3257925b5f/1570845749052-WLP8YV7ZPRN0NBFLNTA5/IMG_4063.JPG)